Canon AE-1 Manual: A Comprehensive Guide
Discover the Canon AE-1’s capabilities with this detailed manual‚ offering insights into its features‚ operation‚ and maintenance for both novice and experienced photographers.
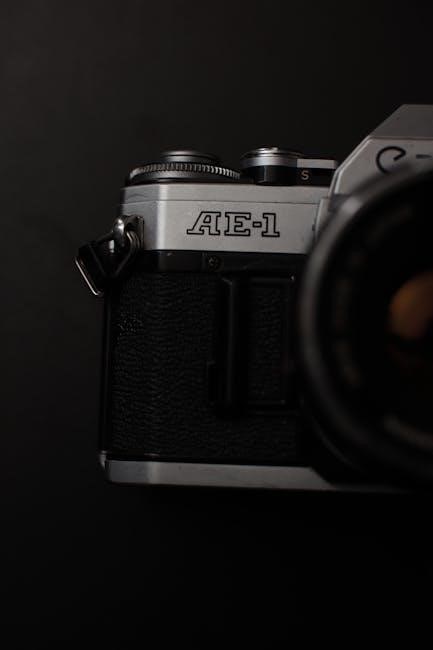
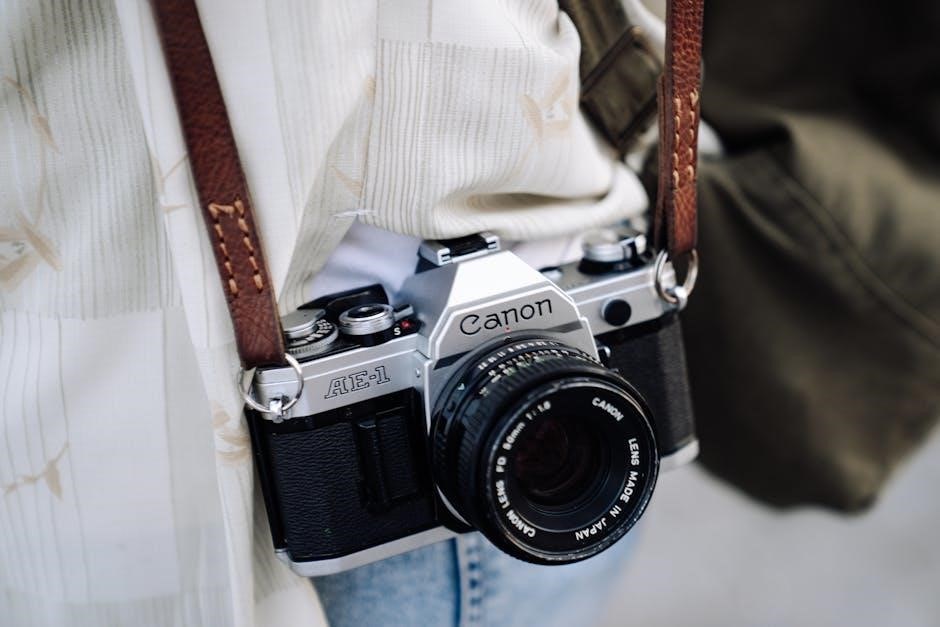
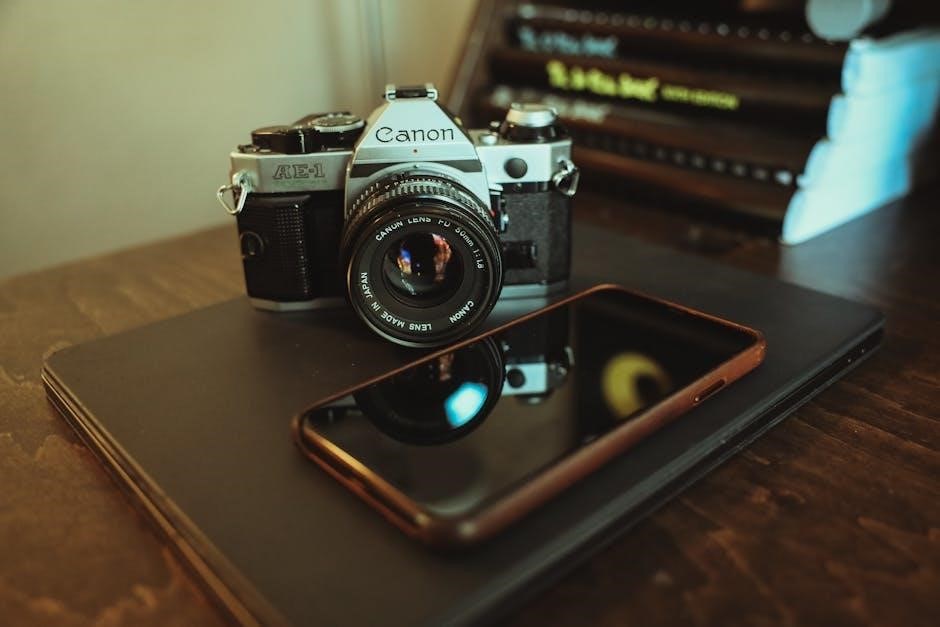
The Canon AE-1‚ released in 1976‚ quickly became an iconic 35mm SLR camera‚ celebrated for its innovative features and user-friendly design. This manual serves as a comprehensive resource for understanding and utilizing this classic camera. It bridges the gap between its analog origins and modern photographic aspirations.
The AE-1 was Canon’s first camera to feature programmed auto-exposure‚ simplifying the process of achieving correctly exposed images. This guide will delve into the intricacies of this mode‚ alongside aperture-priority and manual controls. We’ll explore how to load film‚ master focusing techniques‚ and interpret the camera’s metering system.
Whether you’re a seasoned photographer revisiting a beloved classic or a newcomer exploring film photography‚ this manual will empower you to unlock the full potential of your Canon AE-1.
Understanding the Canon AE-1 Program Camera
The Canon AE-1 Program distinguishes itself through its programmed auto-exposure mode‚ a groundbreaking feature for its time. This mode automatically selects both the shutter speed and aperture‚ based on the camera’s assessment of the scene’s lighting. It’s designed for simplicity‚ allowing photographers to concentrate on composition and capturing the moment.
However‚ the AE-1 isn’t limited to programmed mode. It also offers aperture-priority AE‚ granting control over depth of field‚ and full manual control for complete creative freedom. Understanding how these modes interact is crucial for maximizing the camera’s versatility. This manual will detail each mode’s operation and provide guidance on selecting the optimal setting for various shooting scenarios.
The camera’s reliability‚ if well-maintained‚ contributes to its enduring appeal‚ as noted in available service manuals.
Key Features and Specifications
The Canon AE-1 Program boasts a horizontally-traveling‚ mechanically controlled focal-plane shutter‚ offering speeds from 2 seconds to 1/1000th of a second‚ plus Bulb mode. It accepts Canon FD mount lenses‚ renowned for their optical quality. The camera features a selective metering system‚ evaluating light through a center-weighted pattern.
Power is supplied by a 4LR44/PX28 battery. The AE-1’s viewfinder provides approximately 93.5% coverage. Its dimensions are 143 x 87 x 48 mm‚ and it weighs approximately 565g without a lens. A key feature is the ability to switch between programmed exposure‚ aperture-priority‚ and fully manual operation.
Access to detailed manuals‚ including PDF versions‚ is readily available online‚ enhancing user understanding and maintenance.
Operating Instructions
Master the Canon AE-1 through clear‚ step-by-step guidance covering setup‚ film loading‚ exposure modes‚ focusing‚ and utilizing its advanced photographic capabilities.
Setting Up the Camera
Before embarking on your photographic journey with the Canon AE-1‚ proper setup is crucial. Begin by inserting the battery‚ ensuring correct polarity. Next‚ attach your desired lens‚ aligning the red dot on the lens with the corresponding mark on the camera body and twisting gently until it clicks into place.
Familiarize yourself with the camera’s controls: the shutter speed dial‚ aperture ring‚ exposure mode selector‚ and focusing ring. Set the film speed dial to match the ISO of your loaded film. Confirm the ASA/DIN setting is correct for optimal exposure.
Finally‚ check the viewfinder for clarity and ensure the light seals appear intact to prevent light leaks. A properly set up Canon AE-1 is the first step towards capturing stunning images!
Loading Film
Loading film into the Canon AE-1 is a straightforward process. First‚ locate the film chamber release on the camera’s bottom. Open the back cover using the latch. Insert the film canister into the left-side chamber‚ ensuring it seats correctly.
Pull the film leader across the camera body and engage it with the take-up spool on the right side; Advance the film using the film advance lever‚ watching to ensure the sprocket holes are properly engaged. Close the back cover firmly until it clicks shut.
Continue advancing the film and using the rewind knob until the film leader is fully wound onto the take-up spool‚ indicated by the rewind knob turning. You are now ready to shoot!
Understanding the Exposure Modes
The Canon AE-1 offers three primary exposure modes: Shutter Priority‚ Aperture Priority‚ and Manual. In Shutter Priority‚ you select the shutter speed‚ and the camera automatically sets the aperture for proper exposure. This is ideal for freezing motion or creating motion blur.
Aperture Priority allows you to choose the aperture (f-stop)‚ controlling depth of field‚ while the camera selects the shutter speed. This is useful for landscape or portrait photography.
Manual mode grants full control over both shutter speed and aperture‚ allowing for precise exposure settings. The AE-1’s metering system assists in achieving correct exposure in this mode. Experiment with each mode to understand their unique benefits.
Shutter Priority Mode
In Shutter Priority mode on the Canon AE-1‚ you‚ the photographer‚ dictate the shutter speed‚ ranging from 2 seconds to 1/1000th of a second. The camera then automatically calculates and sets the appropriate aperture value to achieve a correctly exposed photograph. This mode excels when capturing fast-moving subjects‚ utilizing quicker shutter speeds to freeze action‚ or intentionally blurring motion with slower speeds.
Remember to monitor the aperture reading; if it indicates an extreme value‚ adjust the shutter speed accordingly. The AE-1’s metering system will guide you‚ but understanding the relationship between shutter speed and aperture is crucial for creative control.
Aperture Priority Mode
Aperture Priority mode on the Canon AE-1 allows you to select the desired aperture (f-stop)‚ controlling the depth of field in your images. The camera automatically determines the correct shutter speed for proper exposure. A wider aperture (smaller f-number like f/2.8) creates a shallow depth of field‚ ideal for isolating subjects with a blurred background. Conversely‚ a narrower aperture (larger f-number like f/16) yields a greater depth of field‚ keeping more of the scene in focus.
Pay attention to the shutter speed displayed; slow speeds may necessitate a tripod to avoid camera shake. This mode is excellent for portraiture and landscape photography.
Manual Mode
Manual Mode on the Canon AE-1 grants you complete control over both the aperture and shutter speed. This mode requires a thorough understanding of the exposure triangle – the relationship between aperture‚ shutter speed‚ and ISO. You’ll need to use the camera’s built-in metering system or a handheld light meter to determine the correct settings for your desired exposure.

Manual mode is invaluable for challenging lighting situations where the camera’s automatic modes might struggle. It allows for creative control‚ enabling intentional over or underexposure for artistic effect. Practice is key to mastering this mode and achieving consistently well-exposed photographs.

Focusing and Metering
Achieve sharp images with the AE-1’s focusing techniques and understand its metering system for accurate exposure‚ utilizing the AE Lock for complex scenes.
Focusing Techniques
The Canon AE-1 offers both automatic and manual focusing options. When using automatic focusing‚ ensure the focus mode is set correctly – either CAMERA or MEMORY mode. In MEMORY mode‚ the focus is locked after initial acquisition. To engage manual focus‚ switch the lens to ‘M’ and utilize the focusing ring for precise adjustments.
Observe the split-image rangefinder in the viewfinder; align the split images for sharp focus. For critical focus‚ especially in low light‚ consider using a magnifying eyepiece. Remember to check focus at maximum aperture for accurate depth of field assessment. Fine-tune the focus ring until the subject appears crisp and clear within the viewfinder. Practice these techniques to master focusing with your Canon AE-1.
Metering System Explained
The Canon AE-1 utilizes a center-weighted averaging metering system. This means the camera prioritizes the light reading from the center of the frame‚ gradually decreasing sensitivity towards the edges. The viewfinder displays a needle indicating exposure levels: ‘+’ for overexposure‚ ‘-‘ for underexposure‚ and ‘0’ for correct exposure.
Adjust shutter speed or aperture until the needle aligns with ‘0’ for optimal exposure. Be mindful of strong backlighting or high-contrast scenes‚ as these can mislead the meter. Utilize the AE Lock function (explained elsewhere) to lock the exposure reading for challenging lighting situations. Understanding this system allows for consistent and accurate exposures with your Canon AE-1.
Using the AE Lock
The AE Lock feature is crucial for complex lighting scenarios. Press the shutter button halfway‚ then immediately press and hold the AE Lock button (located near the shutter release). This locks the current exposure reading‚ allowing you to recompose your shot without altering the exposure.
This is particularly useful when your subject is not in the center of the frame‚ or when there’s significant contrast between the subject and background. Release the AE Lock button to resume normal metering. Remember to check the viewfinder needle to confirm the locked exposure before fully depressing the shutter. Mastering AE Lock ensures accurate exposures in challenging conditions.

Advanced Features
Explore depth of field control‚ ND filter usage‚ and flash photography techniques to unlock the Canon AE-1’s full potential and enhance your creative vision.
Depth of Field Control
Mastering depth of field is crucial for artistic control in your photography with the Canon AE-1. This is achieved by manipulating the aperture setting on your lens. A wider aperture (smaller f-number like f/2.8) creates a shallow depth of field‚ ideal for isolating subjects with a blurred background – perfect for portraits. Conversely‚ a narrower aperture (larger f-number like f/16) yields a greater depth of field‚ keeping more of the scene in focus‚ suitable for landscapes.
Experiment with different aperture values to understand their impact. Remember that depth of field is also influenced by focal length; longer focal lengths generally produce shallower depths of field. Utilize the AE-1’s aperture priority mode for convenient control‚ allowing you to select the desired depth of field while the camera automatically sets the shutter speed for proper exposure. Careful consideration of these factors will elevate your images.

Using Filters (ND Filters)
Neutral Density (ND) filters are invaluable accessories for your Canon AE-1‚ particularly in bright lighting conditions. These filters reduce the amount of light entering the lens without affecting color. This allows you to use wider apertures for shallow depth of field‚ or slower shutter speeds to create motion blur – effects otherwise impossible in strong sunlight.
ND filters are measured in stops‚ indicating the amount of light reduction. An ND filter labeled “ND 0.3” reduces light by one stop‚ “ND 0.6” by two stops‚ and so on. When using an ND filter‚ remember to compensate for the light reduction by adjusting your shutter speed or aperture accordingly to maintain proper exposure. Experiment with different strengths to achieve creative effects and overcome challenging lighting scenarios.

Flash Photography with the AE-1
The Canon AE-1 offers versatile flash photography options‚ enhancing your creative control. You can utilize dedicated Canon Speedlites‚ or compatible third-party flash units. The camera supports both automatic and manual flash modes. In automatic mode‚ the flash unit determines the appropriate exposure‚ while manual mode allows you to set the flash power independently.
When using flash‚ consider the distance between the camera and subject‚ as this impacts flash exposure. Utilize the AE-1’s through-the-lens (TTL) metering with compatible flash units for accurate results. Remember to adjust your aperture and shutter speed to balance ambient and flash light. Experiment with bouncing the flash off ceilings or walls for softer‚ more natural illumination.
Troubleshooting and Maintenance
Resolve common Canon AE-1 issues with our guide‚ covering cleaning‚ storage‚ and potential repairs‚ ensuring your camera remains in optimal working condition.
Common Issues and Solutions
Facing difficulties with your Canon AE-1? Several common problems can arise. A frequent issue is a stuck shutter‚ often due to aged lubricants; gentle cleaning and re-lubrication might resolve this. Light leaks can occur due to deteriorating foam seals around the film door and viewfinder – replacement is recommended. Erratic metering can stem from corroded battery contacts; cleaning these contacts is crucial.
If the film advance is stiff‚ inspect for debris or dried lubricant. Focusing problems might indicate a loose focusing ring‚ requiring tightening. Remember‚ the AE-1 is a mechanical camera‚ so avoid forcing anything. Consult service manuals (available online‚ like at baytan.org) for detailed repair instructions if you’re comfortable with disassembly. Otherwise‚ seek professional servicing to prevent further damage.
Camera Cleaning and Storage
Maintaining your Canon AE-1 ensures its longevity. Regularly use a soft brush to remove dust from the body and lens. Avoid harsh chemicals or solvents; a microfiber cloth lightly dampened with lens cleaning solution is ideal for the lens. Clean the film chamber with a blower to remove any loose particles.
For storage‚ remove the batteries to prevent corrosion. Store the camera in a cool‚ dry place‚ ideally in a camera bag or case to protect it from dust and impacts. Avoid extreme temperatures and humidity. Periodically (every few months) exercise the shutter and advance mechanism to keep internal parts moving freely. Proper care will keep your AE-1 functioning reliably for years to come.
Service Manual Resources
For advanced repairs and detailed schematics‚ a service manual is invaluable. A readily available resource is located at Baytan’s website‚ offering comprehensive technical information for the Canon AE-1. This manual details disassembly‚ troubleshooting‚ and parts identification.
However‚ servicing a mechanical camera requires skill and precision. If you’re not comfortable with intricate repairs‚ it’s best to consult a qualified camera technician. Attempting complex fixes without proper knowledge could cause further damage. Online forums and communities dedicated to vintage cameras can also provide helpful advice and support for finding repair services or parts.
Resources and Further Information
Explore Canon’s official website for utilities and downloadable manuals‚ enhancing your AE-1 experience and providing access to essential support materials.
Canon Utilities and Manual Downloads
Accessing supplementary resources for your Canon AE-1 is straightforward. Begin by navigating to the Canon Utilities section within the Programs folder on your computer. Specifically‚ locate the Canon XF Utility‚ and within it‚ find the Manual directory.
Here‚ you’ll discover PDF files organized by language‚ offering detailed documentation for your camera. Furthermore‚ Canon provides downloadable firmware updates via their official website – crucial for optimal performance.
Beyond Canon’s official offerings‚ numerous online communities and enthusiast websites host scanned copies of the original Canon AE-1 Program manual (available as a PDF). These resources‚ like those found at baytan.org‚ can be invaluable for troubleshooting and in-depth understanding. Remember to always verify the source of downloaded files.